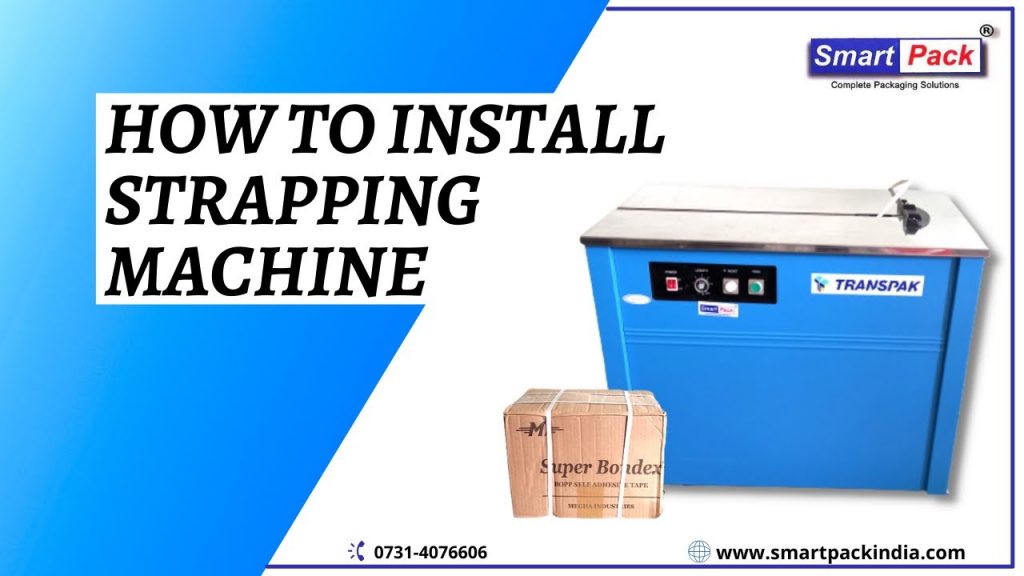
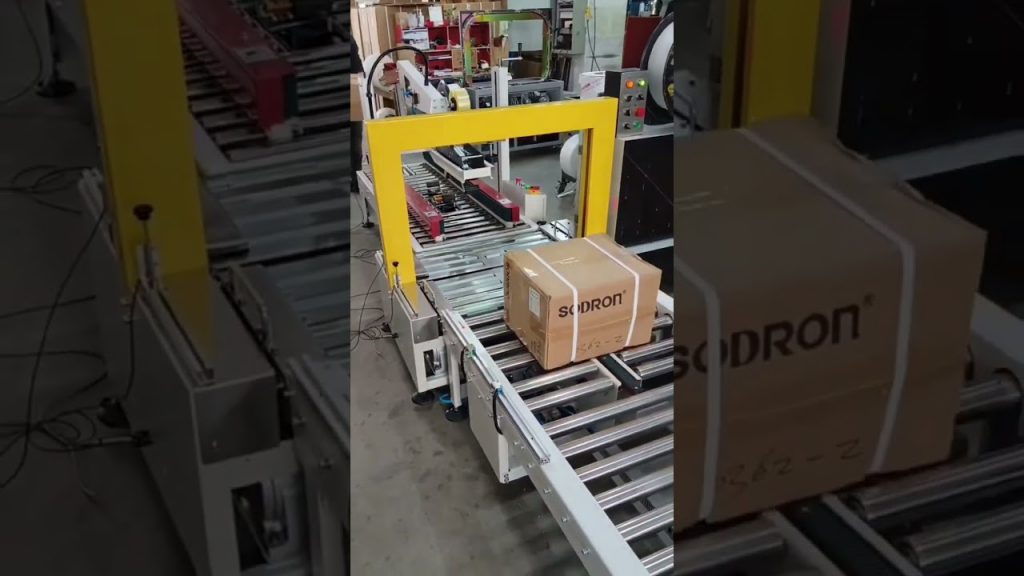
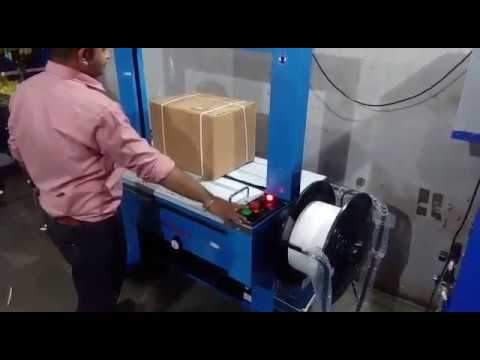
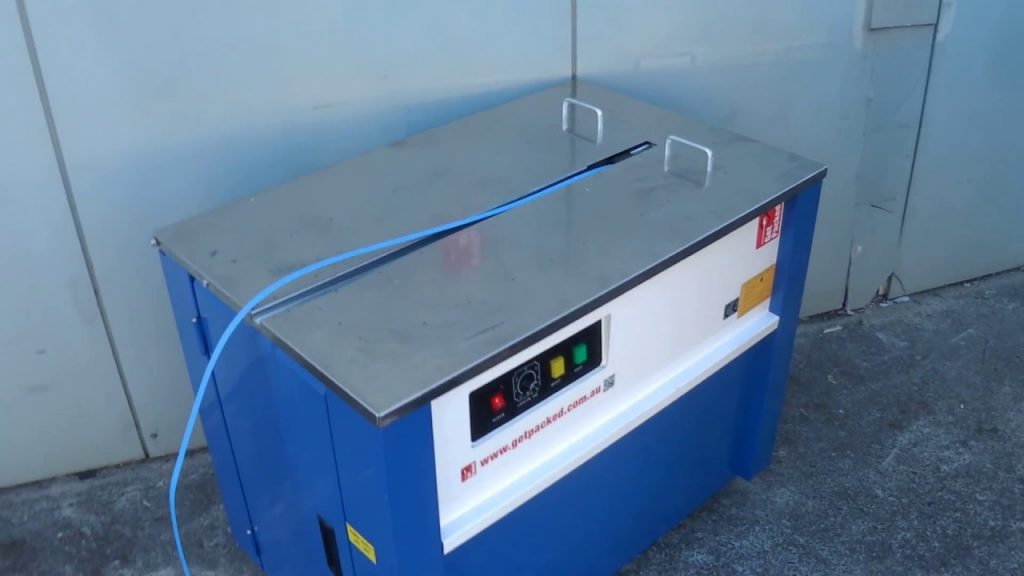
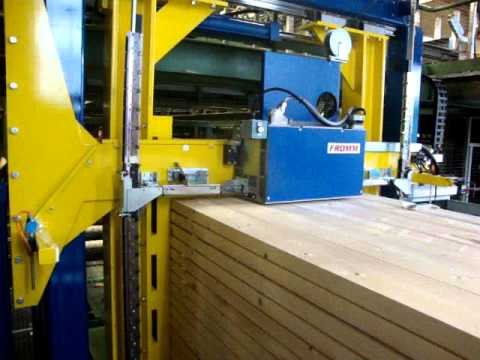
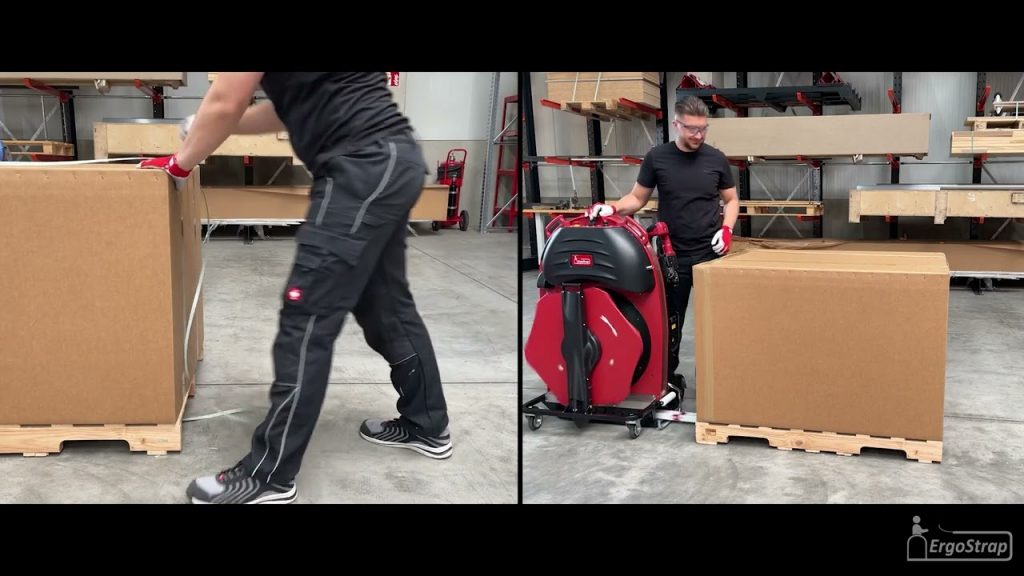
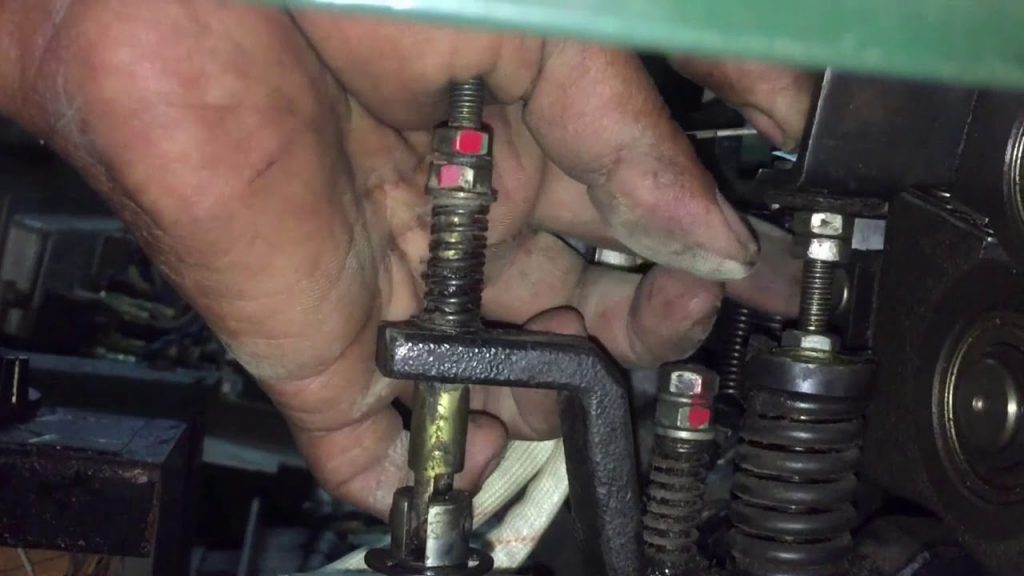
In this YouTube video, we will guide you through the step-by-step process of installing a Strapping Machine. Whether you need to secure packages for shipping or bundling materials for storage, our Strapping Machines are the perfect solution. We offer a wide range of customizable products, allowing you to tailor your Strapping Machine to meet your specific needs.
Installing a Strapping Machine may seem like a daunting task, but with our easy-to-follow instructions, you'll have it up and running in no time. Before we dive into the installation process, let's take a moment to understand the different parts of a Strapping Machine and their functions.
Strapping Machine Parts: A Comprehensive Guide
1. Strapping Head: This is the heart of the Strapping Machine, responsible for tensioning and sealing the strap around your packages or materials. It ensures a secure and tight seal, keeping everything in place during transit.
2. Strap Dispenser: The Strap Dispenser holds the roll of strapping material. It feeds the strap through the Strapping Head, allowing for continuous and efficient strapping.
3. Tensioning Mechanism: The Tensioning Mechanism adjusts the tension of the strap, ensuring it is neither too loose nor too tight. It plays a crucial role in achieving optimal packaging results.
4. Sealing Mechanism: The Sealing Mechanism seals the strap, creating a secure bond that prevents it from unraveling. It can use various methods such as heat, friction, or ultrasonic vibrations to achieve a strong seal.
5. Control Panel: The Control Panel is where you can adjust the settings of your Strapping Machine. It allows you to control the tension, speed, and other parameters to suit your specific packaging requirements.
Now that we have a good understanding of the different parts of a Strapping Machine, let's move on to the installation process.
Step 1: Positioning the Strapping Machine
Choose a suitable location for your Strapping Machine, ensuring there is enough space for easy access and operation. It's important to place the machine on a stable surface to prevent any unnecessary movements during operation.
Step 2: Connecting Power Supply
Ensure that the power supply is compatible with the voltage requirements of your Strapping Machine. Connect the machine to a reliable power source, following the manufacturer's instructions for proper electrical connections.
Step 3: Thread the Strap
Carefully thread the strap through the Strap Dispenser and the Strapping Head, making sure it is properly aligned and free from any twists or tangles. Refer to the user manual for specific threading instructions.
Step 4: Adjusting Tension and Sealing
Using the Control Panel, adjust the tensioning and sealing mechanisms according to your packaging needs. It's important to find the right balance to achieve secure and consistent strapping results.
Step 5: Test Run and Fine-tuning
Once your Strapping Machine is set up, run a few test cycles to ensure everything is working smoothly. Make any necessary adjustments to the tension, speed, or other settings to optimize the performance of your machine.
Congratulations! You have successfully installed your Strapping Machine and are ready to start strapping your packages and materials with ease. Remember to regularly maintain and inspect your machine to ensure its longevity and efficiency.
In conclusion, installing a Strapping Machine doesn't have to be a complicated process. With our comprehensive guide and high-quality Strapping Machine Parts, you can easily set up your machine and enjoy the benefits of efficient and secure packaging.
Check out our video and start your strapping journey today! Don't forget to subscribe and leave a comment if you found this video helpful. For all your Strapping Machine Parts needs, trust the leading manufacturer for professional solutions.
Keywords: Strapping Machine Parts, How to install Strapping Machine. Strapping Machines
"Efficient Strapping Machine Installation Guide and Essential Parts Demonstration"
